
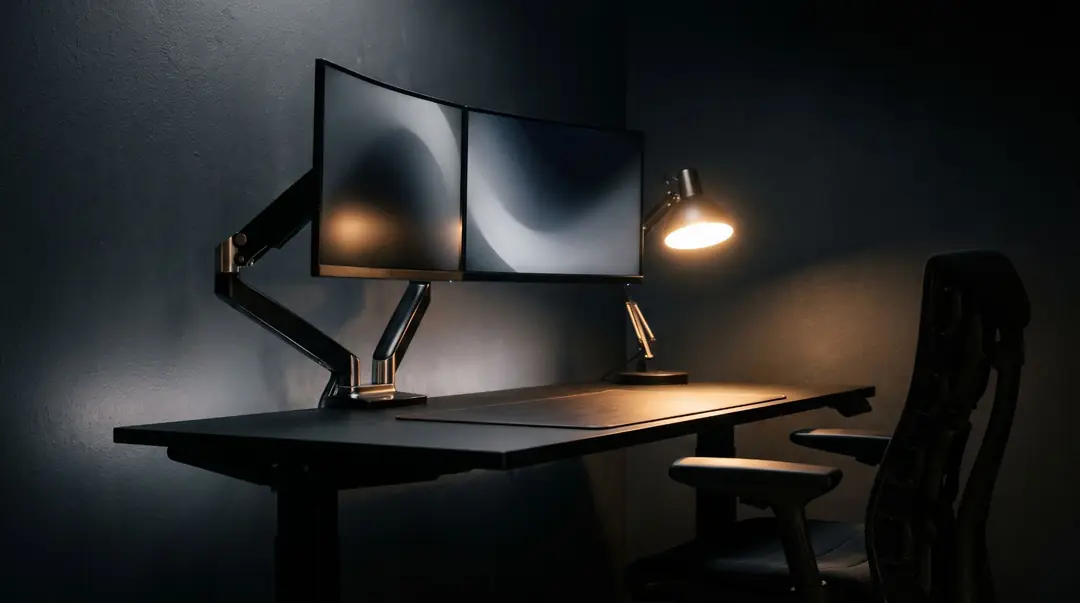

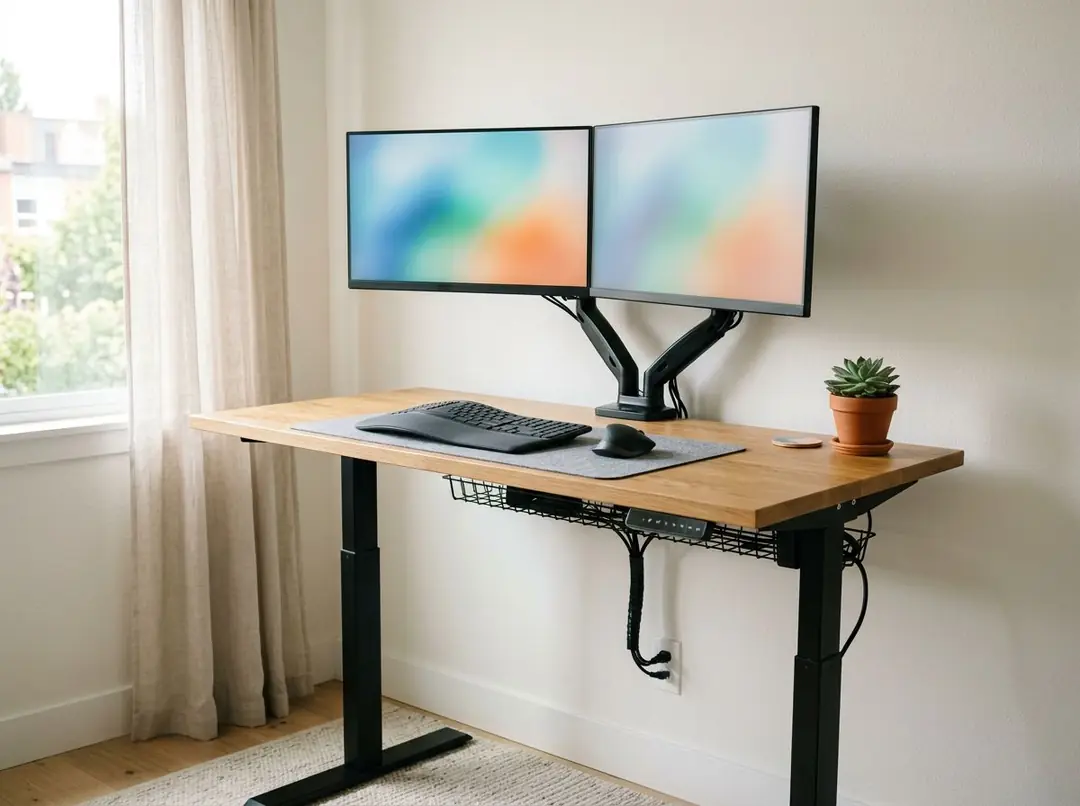
Monitor arms and sit-stand equipment are usually bought to solve a specific complaint, and they work best when chosen against that complaint rather than bought generically. Start with the symptom.
Diagnose before you buy
- Neck and upper back ache. The screen is almost always too low. The top of the display should sit at or slightly below eye level so the gaze angles down a few degrees. Laptop users get this worst, because a laptop screen cannot be at the right height while its keyboard is.
- Eye strain and headaches. Usually distance rather than height. Roughly an arm's length from the screen is the working rule, and bigger screens need more distance, not less.
- Shoulder and wrist discomfort. Keyboard and desk height, not the monitor. Shoulders rising toward the ears means the working surface is too high; wrists bending upward means it is too low or too far forward.
- Lower back ache. Seating and static posture. This is where sit-stand equipment earns its place, though a decent chair and a habit of moving matter more than the desk itself.
Buying a monitor arm to fix a wrist problem will not work. Match the equipment to the symptom.
Choosing a monitor arm
Three specifications decide whether an arm will actually work with your setup.
Weight capacity
Check your monitor's weight without its stand — manufacturers usually publish both figures and it is easy to read the wrong one.
Match the range rather than maximising it. An arm rated below your monitor's weight will drift downward over the day. An arm rated far above it will feel stiff and resist adjustment, which means people stop adjusting it — and an arm nobody adjusts is just an expensive stand.
VESA mounting pattern
Most monitors use 100x100mm or 75x75mm. Confirm yours before ordering. Some larger displays, curved models and ultrawides use larger patterns or no VESA mount at all, and need an adapter plate.
Mounting method
Clamp mounts grip the rear edge of the desk. They are the common choice and need no modification, but they require an accessible rear edge — a desk pushed flush against a wall with a cable tray behind it may not have one. Check the clamp's thickness range against your desktop.
Grommet mounts pass through an existing cable hole and bolt underneath. More stable, tidier, and the better option for heavy monitors or for desks where the rear edge is obstructed.
Single versus dual arms
Dual arms make sense when both screens are used roughly equally and both need repositioning.
Where one screen is primary and the other is for reference, a single arm plus the second monitor's own stand is often more stable and noticeably cheaper. Dual arms also need more desk depth than people expect — once both screens are pushed back to a comfortable viewing distance, the arm's footprint and the screens' combined reach can exceed a shallow desk.
Measure before ordering: desk depth, and the horizontal span of both monitors side by side.
Sit-stand: the honest version
The benefit comes from changing position, not from standing all day. Standing continuously creates its own problems — foot, knee and lower back fatigue — and people who try it usually abandon the desk within a fortnight.
A workable pattern is alternating every 30 to 60 minutes. That has one important implication: the adjustment has to be fast. If switching takes more than a few seconds, or requires clearing the desk first, people stop doing it and the desk stays at one height permanently.
Desktop risers convert an existing desk and are the lower-commitment option — useful for trying the habit before committing budget. They take up desk depth and have a weight limit worth checking against a large monitor.
Full sit-stand workstations are better if you are furnishing from scratch, with the whole surface moving so nothing needs rearranging.
Either way, an anti-fatigue mat matters more than most buyers expect. Standing on a hard floor for long periods is the single most common reason people give up on sit-stand working, and a mat costs a fraction of the desk.
Do not forget the keyboard
Raising the monitor without raising the keyboard just relocates the problem. If the screen is now at eye level but the keyboard is still on the desktop, shoulders and wrists take the strain instead of the neck.
A keyboard manager or under-desk tray lets you set screen height and keyboard height independently, which is the entire point of the exercise. Wrist supports help at the margin but do not substitute for correct height — they are a refinement, not a fix.
Setting it up once it arrives
- Sit properly first, feet flat, thighs roughly parallel to the floor.
- Set keyboard height so forearms are roughly horizontal and wrists straight.
- Only then set monitor height — top of screen at or just below eye level.
- Set distance at roughly arm's length.
- Tilt the screen back very slightly so it faces your eyeline squarely.
Doing it in that order matters. Setting the monitor first and working down tends to produce a compromise at the keyboard, which is where the persistent complaints come from.
Browse monitor arms, workspace management and wrist supports.